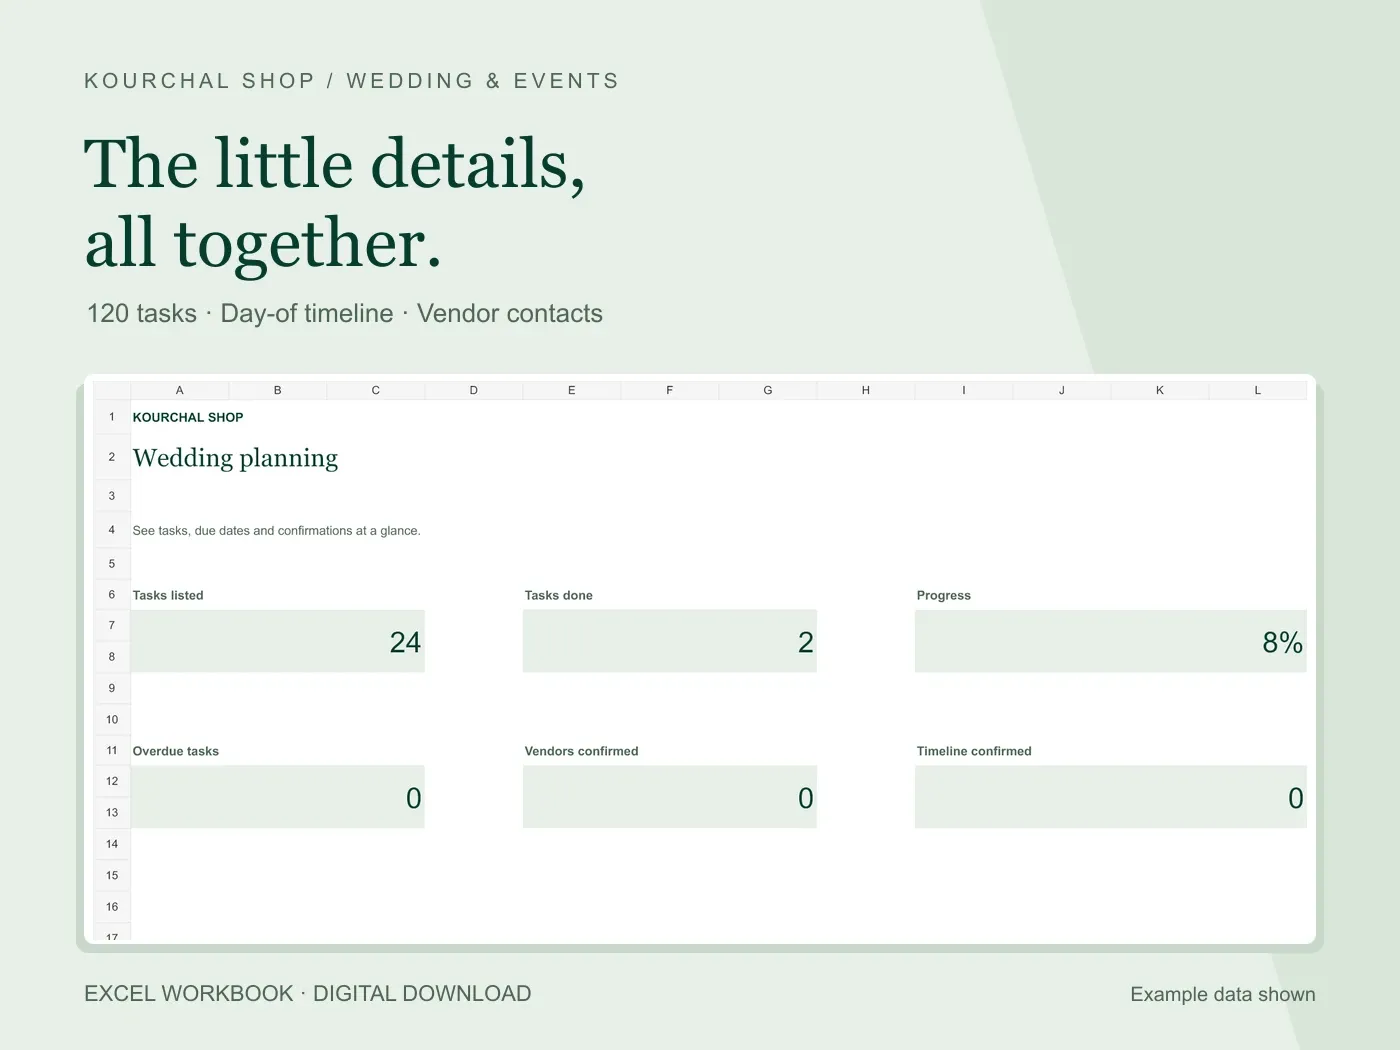
A long checklist becomes useful when each task has a clear next action, someone responsible for it and a realistic due date. A day-of timeline has a different purpose: it tells people where to be and when. Keep these two views separate so an unfinished planning task does not become a confusing event entry.
The Wedding Checklist & Timeline provides separate sheets for planning tasks, the event timeline and vendor contacts. You can use the approach below with that workbook or with your own lists.
Personalize the starter checklist
Start by deleting or rewriting tasks that do not apply to your event. The 24 starter tasks are a starting point, not a universal schedule or a substitute for your venue’s requirements.
Give each remaining task a specific action. “Confirm venue capacity with the coordinator” is easier to finish than “Venue”. Add the responsible person and a date agreed with them. Use a priority to identify what should be dealt with first.
Use one field to mark completion
Choose a single completion control. In our checklist, Status is the editable field and Complete? follows it automatically. Marking Status as Done updates the dashboard’s completed task total.
A task with a past due date that is not Done is counted as overdue. Blank dates are excluded. If you remove a status by mistake, a dated unfinished task still remains visible in the overdue total. Check the entry and choose the correct status.
Build the day around confirmed anchors
Begin the event timeline with arrangements that have fixed times, such as access to the venue, the ceremony and agreed supplier arrivals. Add locations and the person who will lead each event. Record real Excel times such as 14:30 rather than a long sentence in the time column.
Work between those anchors and leave room for movement, setup and delays appropriate to your event. The workbook does not calculate travel or suggest fixed buffer times. Confirm realistic timings with the people involved.
Keep contacts and confirmations nearby
Use Vendor Contacts for the supplier name, contact person, phone or email and confirmation status. Store only information needed to coordinate your event and share it only with the relevant helpers.
Confirming a timeline row and confirming a vendor are separate steps. The dashboard shows both totals so you can review each list. A status label records your entry; it does not send a message or obtain confirmation from the supplier.
Share a clear final working copy
When the arrangements are agreed, sort the whole timeline by time, review locations and contacts, and save a dated backup. Share a working copy with the person coordinating your own event, as permitted by the personal-use license.
The workbook provides 120 task rows, 60 timeline entries and 100 vendor rows. Stay within the prepared rows to keep totals connected. Use the Start Here instructions and Microsoft Excel. Google Sheets compatibility has not been verified.