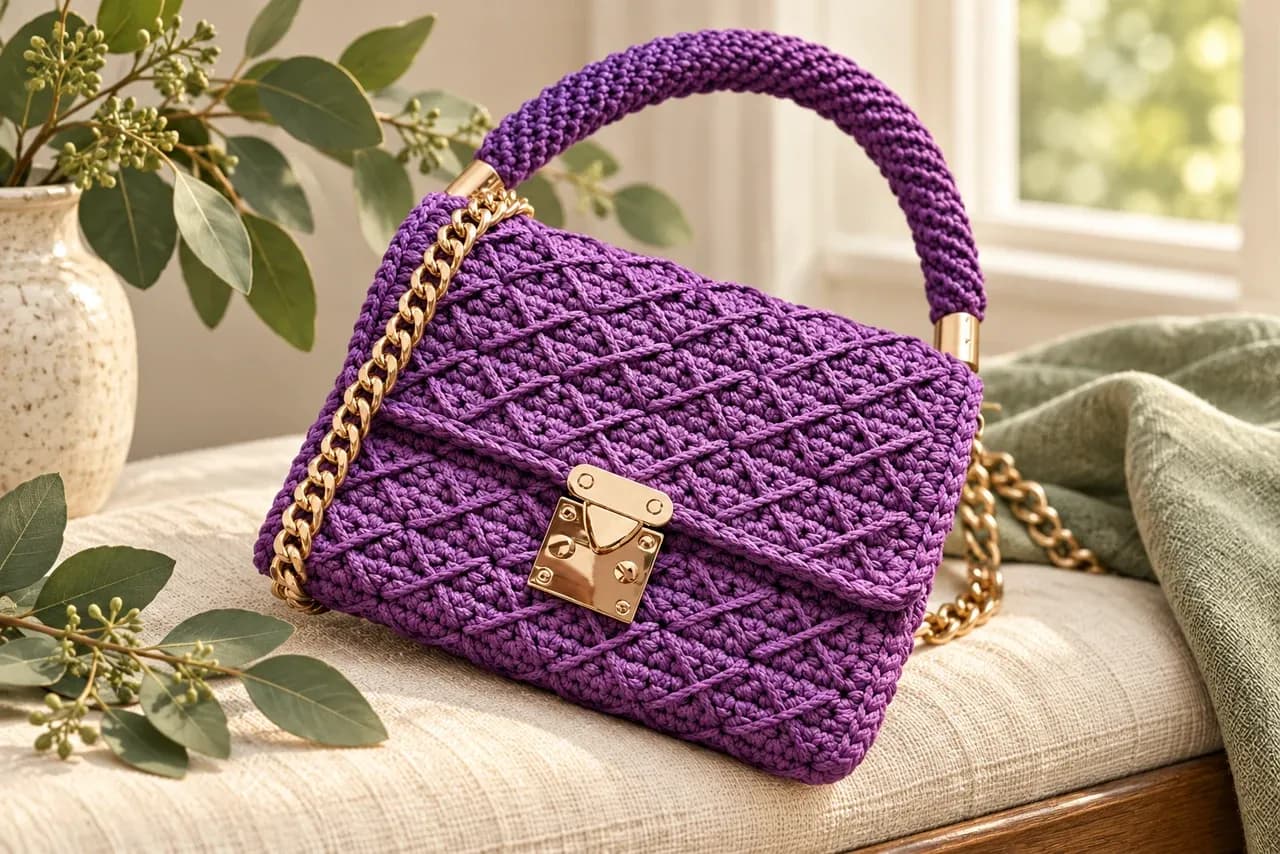
A fabric lining can make a crochet bag more practical, but a rushed fit may pull the crochet inward, leave gaps at the top or bunch at the corners. Measure and test the lining before you sew it permanently. This general checklist helps with planning; follow your specific pattern for its construction, measurements and hardware.
1. Check the pattern and the finished bag
Read the pattern’s finishing notes before buying fabric or cutting it. Confirm whether it includes lining instructions, where the lining attaches, and whether a closure or hardware must be fitted first. Once the crochet is finished, let it rest in its natural shape and check the inside opening, depth and side-to-side width. Crochet fabric can stretch, so do not pull the bag wide while measuring.
Decide whether you want a plain lining, a pocket, a zipper or a clasp. Each addition changes the order of work and can add bulk. If the pattern gives a specific lining method, use that method instead of assuming every bag is constructed the same way.
2. Make a paper template before cutting fabric
Turn the bag to the side the lining will sit against. Use paper to trace or mark the shape of the inside, then check that the template can sit flat without stretching the crochet. A shaped bag may need a bottom panel and separate side pieces; a simple pouch shape may need fewer seams. Include the seam allowance and top fold required by the sewing method you choose.
Test the paper shape inside the bag and adjust it before transferring it to fabric. If you plan to add a pocket, place it on the paper first and check that it will not sit under a clasp, ring or other fitting.
3. Sew and test the lining as a separate pouch
Pin or clip the fabric pieces and sew the lining before attaching it to the crochet. Keep the fabric smooth rather than stretched. Turn the pouch right side out and place it inside the bag. Check the bottom corners, side seams and top edge. It should sit in the bag without forcing the crochet outward or pulling it inward.
If the pouch is too large, adjust the fabric seams a little at a time. If it is too small, remake or widen it before attaching it. A paper or fabric test is easier to correct than a finished lining sewn into place.
4. Attach it with small, even stitches
Use clips to keep the lining evenly positioned around the opening. Hand-stitch the folded lining edge to the inside of the crochet with small, consistent stitches. Aim to catch the inside of the crochet stitches without letting the needle show through the outside. Work around the opening gradually and check the bag from both sides so the seam does not gather the crochet.
After a few stitches, pause and check the fit. If the crochet puckers, undo the tight section and spread the fabric ease more evenly. If the lining sags, reposition it before continuing. Avoid pulling the thread hard to hide a gap; that can distort the bag.
5. Review the fit before using the bag
Check that the top edge lies flat, the lining does not cover the closure and any pocket is easy to reach. Test the clasp or zipper several times before finishing the last stitches. A lining can help cover the inside, but it does not guarantee that a crocheted bag will hold a particular weight. Follow the pattern and materials makers’ guidance for the actual project.
Choosing a crochet handbag pattern
Before buying a pattern, check whether it teaches the lining step or only lists lining fabric as a material. Also review the required crochet skills, sewing steps, hardware, finished-size notes and what files are included. The Canvas Handbag pattern in our shop is labeled beginner/intermediate by its designer and includes sewing a lining and fitting bag hardware, so it is not presented as a first-crochet tutorial.
Review the Canvas Handbag pattern, materials and included preparation guide
For another photo-led explanation of adding a lining, see this independent tutorial: https://christacodesign.com/how-to-line-a-crochet-bag-photo-tutorial-augusts-make-it-giveaway/. Methods vary with the bag shape and pattern, so use it as a general reference rather than a replacement for your pattern’s instructions.
This checklist cannot guarantee a perfect fit. Fabric thickness, crochet stretch, seam allowance and construction all affect the result. Measure, baste and test before making the final attachment.