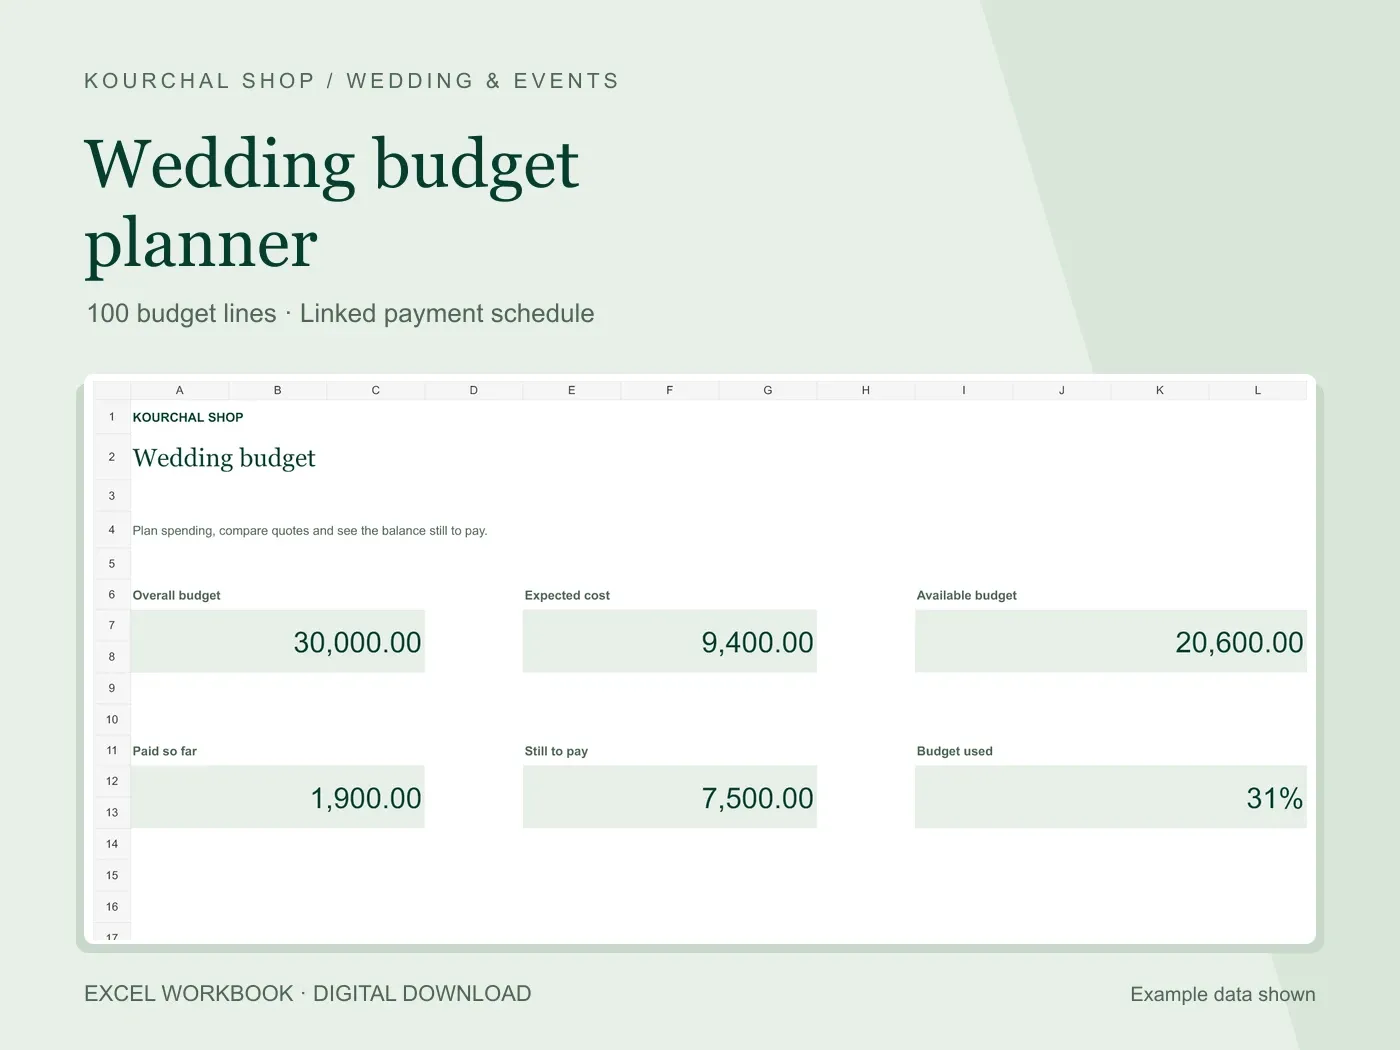
A wedding budget is easier to use when it answers three separate questions: what do you expect to spend, what have you already paid, and what remains due? Keep those values separate from the start. A quote is a cost, a deposit is a payment, and your overall budget is the limit you have chosen.
You can apply this method in your own spreadsheet or use our Wedding Budget Planner. The examples below use a single currency and do not include currency conversion.
1. Set a total before adding individual costs
Write down the total you are comfortable allocating, then list the categories that apply to your event. Venue, catering, stationery, transport and ceremony arrangements are useful starting points. Remove categories you do not need rather than copying someone else’s event.
Set aside room for costs you have not confirmed. The workbook lets you add a contingency line, but it does not choose a percentage or make spending decisions for you. Your circumstances determine the total.
2. Keep an estimate until you have a quote
An estimate helps you plan before a supplier has given you a firm price. When a quote arrives, enter it separately. In our planner, expected cost uses the quote when it is a number and otherwise uses the estimate.
For example, enter an estimate of 1,000 and a quote of 1,200. Expected cost becomes 1,200. A blank quote still uses 1,000; an explicit zero quote means zero cost. This distinction prevents an empty field from looking like a free service.
3. Record each payment only once
If you pay a 200 deposit and a later 100 payment against a 1,200 quote, your paid total is 300 and the balance is 900. Enter the deposit in Deposit paid and the later payment in Other paid. Do not enter 300 in Other paid, because that would count the deposit twice.
The dashboard totals these columns. Keep receipts elsewhere in a secure folder and use the notes column to identify them if useful. The workbook does not connect to a bank or verify a supplier’s receipt.
4. Add dates and review the payment schedule
Enter the next payment due date for each cost. In the linked Payment Schedule, filter or sort the complete table by due date. Sorting a single column can separate dates from the wrong supplier, so always keep the table together.
Compare still-to-pay amounts with the arrangements you have agreed. If a balance is negative, investigate the overpayment or incorrect entry. The planner deliberately leaves negative balances visible.
5. Make a short review part of your planning
After a new quote or payment, check expected cost, paid so far and available budget. Save a dated backup before major changes. If you share a working copy, agree who will maintain it so two versions do not diverge.
The Wedding Budget Planner includes 100 prepared budget rows, a linked payment schedule, a dashboard and Start Here instructions. Use the prepared rows so the totals stay connected. Microsoft Excel is recommended; Google Sheets compatibility has not been verified.